Visual Studio
Start up Visual Studio and select New Project... in the upper left corner.

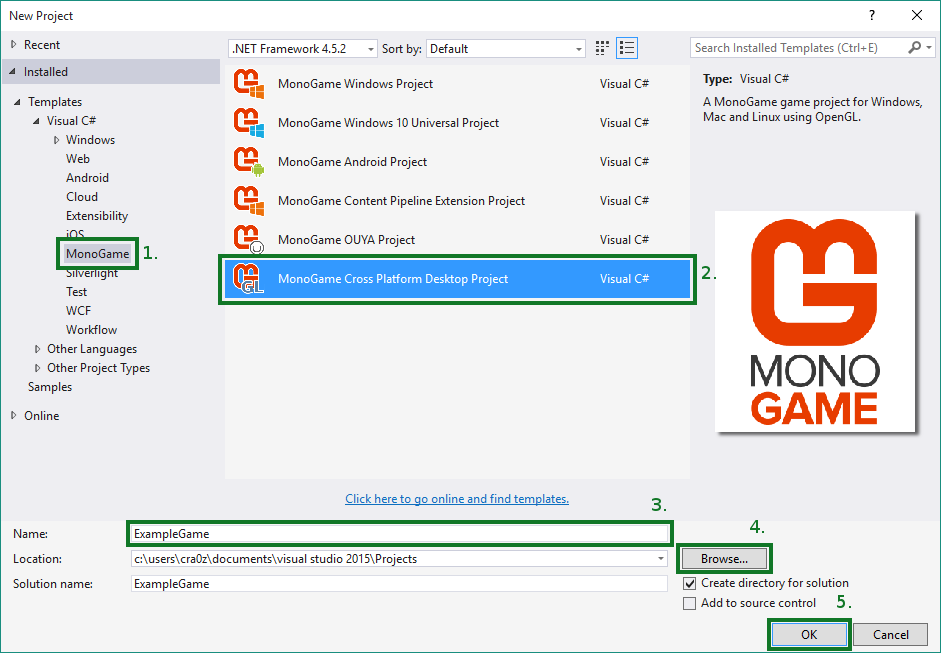
Now you should see a "New Project" dialog pop up, from here select Templates > Visual C# > MonoGame category, and then select MonoGame Cross Platform Desktop Project. Next type in the name that you wish to give your project, for this tutorial let's just use ExampleGame (do note that you should not use space character for it). After you've entered the name, click on the Browse button next to the location text field, and select where you wish to save your project. Finally click OK to create a new project.
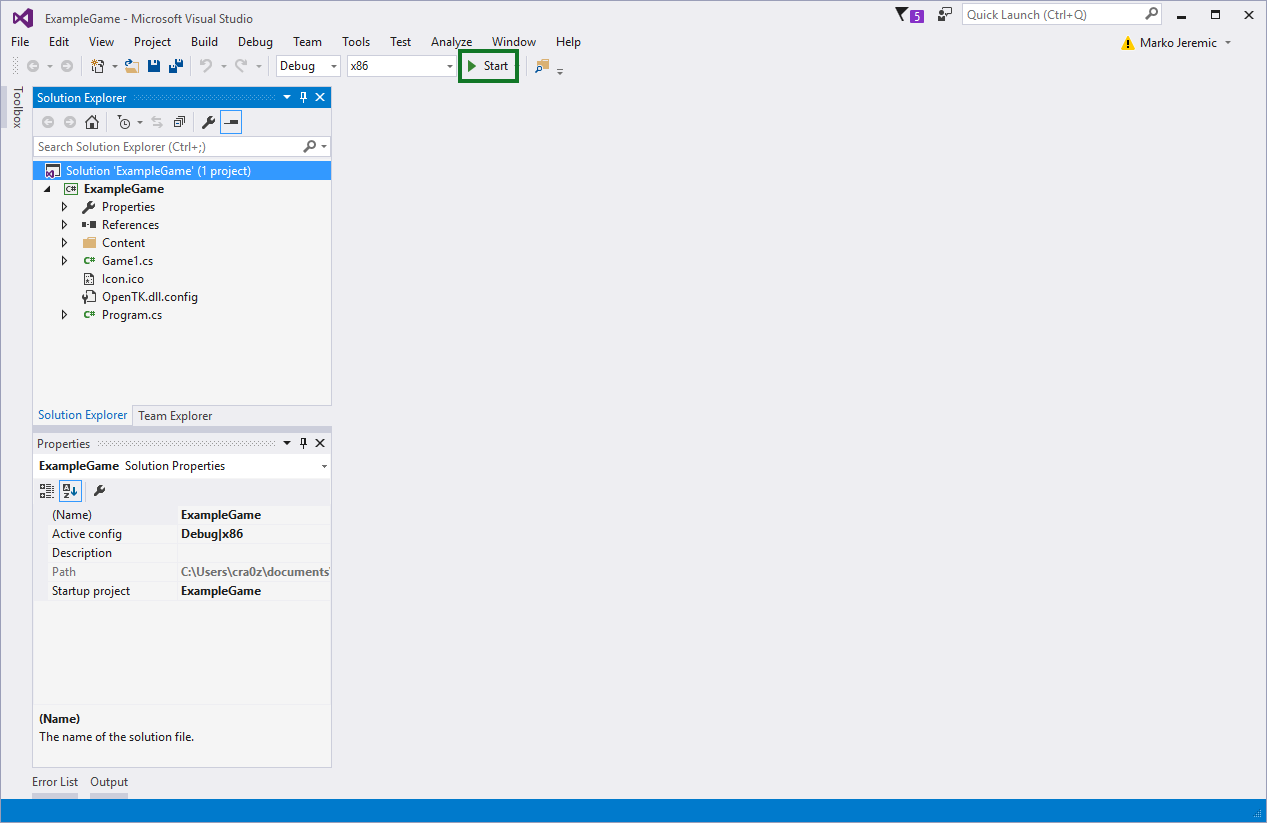
If everything went correctly, you should see an ExampleGame project open up like in the picture bellow. To run your game simply press the big Play Button in the toolbar or press F5.
You should now see your game window running.
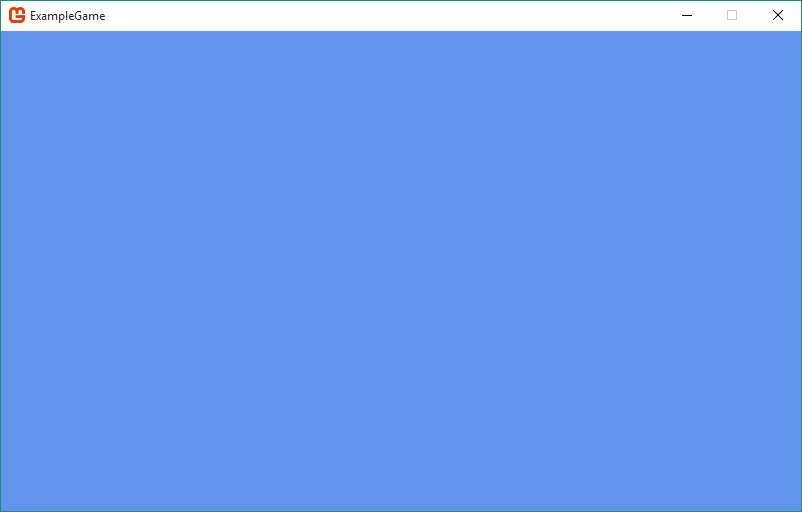
Currently it's just clearing the surface with blue color. For further information on creating your game, please look at the Understanding the Code.